
Introduction to Pumpkin Patch Pretzels
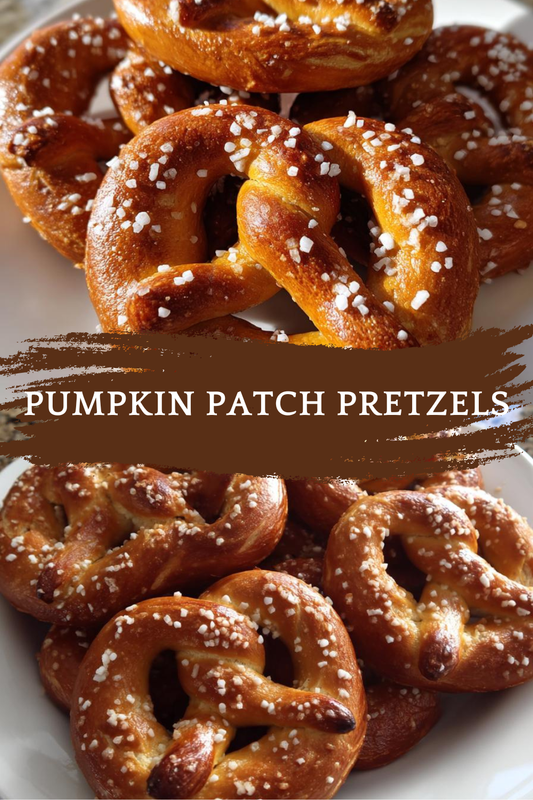
As the leaves turn and the air gets crisp, I find myself craving cozy treats that capture the essence of fall. That’s where my Pumpkin Patch Pretzels come in! These delightful, pumpkin-shaped snacks are not just adorable; they’re a quick solution for busy days filled with family activities. Whether you’re hosting a gathering or simply want to impress your loved ones, these pretzels are sure to bring smiles. Plus, they’re easy to make, allowing you to enjoy the season without spending hours in the kitchen. Let’s dive into this delicious recipe together!
Print
Pumpkin Patch Pretzels: Discover the Best Recipe Today!
- Total Time: 1 hour 30 minutes
- Yield: 12 pretzels
- Diet: Vegetarian
Description
Delicious pumpkin-shaped pretzels perfect for fall festivities.
Ingredients
- 2 cups all-purpose flour
- 1 packet active dry yeast
- 1/2 cup warm water
- 1/4 cup sugar
- 1/2 teaspoon salt
- 1/4 cup pumpkin puree
- 1 teaspoon pumpkin spice
- 1 egg (for egg wash)
- Coarse sea salt (for topping)
Instructions
- In a bowl, combine warm water, sugar, and yeast. Let it sit for 5 minutes until frothy.
- Add flour, salt, pumpkin puree, and pumpkin spice to the yeast mixture. Mix until a dough forms.
- Knead the dough on a floured surface for about 5 minutes until smooth.
- Place the dough in a greased bowl, cover, and let it rise for 1 hour.
- Preheat the oven to 425°F (220°C).
- Divide the dough into small pieces and shape them into pumpkin forms.
- Place the shaped pretzels on a baking sheet lined with parchment paper.
- Brush each pretzel with egg wash and sprinkle with coarse sea salt.
- Bake for 12-15 minutes or until golden brown.
- Let cool before serving.
Notes
- For a sweeter pretzel, consider adding a glaze after baking.
- These pretzels can be served with a cream cheese dip.
- Store leftovers in an airtight container for up to 2 days.
- Prep Time: 15 minutes
- Cook Time: 15 minutes
- Category: Snack
- Method: Baking
- Cuisine: American
Why You’ll Love This Pumpkin Patch Pretzels
These Pumpkin Patch Pretzels are a delightful blend of ease and flavor. They come together quickly, making them perfect for busy moms like us. The warm, spiced aroma fills your kitchen, creating a cozy atmosphere. Plus, their charming pumpkin shape adds a festive touch to any gathering. Whether you’re snacking with the family or sharing with friends, these pretzels are sure to be a hit!
Ingredients for Pumpkin Patch Pretzels
Gathering the right ingredients is the first step to creating these delightful Pumpkin Patch Pretzels. Here’s what you’ll need:
- All-purpose flour: This is the base of your pretzel dough, giving it that perfect chewy texture.
- Active dry yeast: Essential for making the dough rise, it adds a lovely lightness to your pretzels.
- Warm water: Activates the yeast, helping it to bloom and work its magic.
- Sugar: A touch of sweetness balances the flavors and feeds the yeast for a better rise.
- Salt: Enhances the overall flavor of the pretzels, making each bite delicious.
- Pumpkin puree: This is the star ingredient, giving your pretzels that lovely fall flavor and vibrant color.
- Pumpkin spice: A blend of warm spices that adds a cozy, seasonal touch to your pretzels.
- Egg (for egg wash): Gives the pretzels a beautiful golden-brown finish when baked.
- Coarse sea salt: Sprinkled on top for that classic pretzel crunch and flavor.
For those looking to switch things up, consider adding a glaze after baking for a sweeter treat. You can also serve these pretzels with a creamy dip for an extra layer of flavor. If you’re curious about exact measurements, don’t worry! You can find them at the bottom of the article, ready for printing.
How to Make Pumpkin Patch Pretzels
Now that we have our ingredients ready, let’s get to the fun part—making these delightful Pumpkin Patch Pretzels! Follow these simple steps, and you’ll have a batch of warm, spiced pretzels in no time.
Step 1: Prepare the Yeast Mixture
Start by combining warm water, sugar, and active dry yeast in a bowl. Give it a gentle stir and let it sit for about 5 minutes. You’ll know it’s ready when it becomes frothy and bubbly. This is the yeast waking up, and trust me, it’s a beautiful sight!
Step 2: Make the Dough
Once your yeast mixture is frothy, it’s time to add the fun ingredients! Mix in the all-purpose flour, salt, pumpkin puree, and pumpkin spice. Stir until a dough begins to form. It should be slightly sticky but manageable. If it’s too wet, sprinkle in a bit more flour.
Step 3: Knead the Dough
Now, let’s get our hands a little messy! Transfer the dough to a floured surface and knead it for about 5 minutes. You want it to be smooth and elastic. Think of it as giving your dough a little workout—it’ll thank you later!
Step 4: Let the Dough Rise
Place your kneaded dough in a greased bowl, cover it with a clean kitchen towel, and let it rise in a warm spot for 1 hour. This is where the magic happens! The dough will double in size, becoming fluffy and ready for shaping.
Step 5: Preheat the Oven
While the dough is rising, preheat your oven to 425°F (220°C). This step is crucial for achieving that perfect golden-brown color on your pretzels. A hot oven is your best friend here!
Step 6: Shape the Pretzels
Once the dough has risen, punch it down gently to release the air. Divide it into small pieces, about the size of a golf ball. Roll each piece into a long rope and shape it into a pumpkin form. You can create little stems by twisting a small piece of dough and placing it on top. How cute is that?
Step 7: Prepare for Baking
Line a baking sheet with parchment paper and place your shaped pretzels on it. Brush each one with an egg wash for that shiny finish, and sprinkle with coarse sea salt. This adds a delightful crunch and flavor that’s hard to resist!
Step 8: Bake the Pretzels
Pop the pretzels in the oven and bake for 12-15 minutes. Keep an eye on them! You want them to be golden brown and smelling heavenly. A quick tip: if you tap the bottom and it sounds hollow, they’re done!
Step 9: Cool and Serve
Once baked, let the pretzels cool on a wire rack for a few minutes. This helps them set and makes them easier to handle. Serve them warm, and watch your family’s faces light up with joy!
Tips for Success
- Make sure your water is warm, not hot, to activate the yeast properly.
- Don’t skip the kneading; it’s essential for developing that chewy texture.
- Let the dough rise in a warm spot, like near a sunny window.
- Experiment with different toppings, like cinnamon sugar for a sweet twist.
- Serve immediately for the best taste, but they can be stored for up to 2 days.
Equipment Needed
- Mixing bowl: A large bowl for combining ingredients. A sturdy pot works too!
- Measuring cups: Essential for accuracy. You can use a kitchen scale if you prefer.
- Rolling pin: For shaping the dough. A wine bottle can do the trick in a pinch!
- Baking sheet: Needed for baking. A pizza stone can also work wonders.
- Parchment paper: Helps prevent sticking. Aluminum foil is a good alternative.
Variations
- Cheesy Pretzels: Add shredded cheddar or mozzarella to the dough for a savory twist.
- Glazed Pretzels: Drizzle a simple icing made of powdered sugar and milk over the cooled pretzels for a sweet treat.
- Gluten-Free Option: Substitute all-purpose flour with a gluten-free flour blend for a delicious alternative.
- Herbed Pretzels: Mix in dried herbs like rosemary or thyme for a fragrant, savory flavor.
- Chocolate-Dipped Pretzels: Dip the cooled pretzels in melted chocolate for a decadent dessert.
Serving Suggestions
- Pair your Pumpkin Patch Pretzels with a warm cream cheese dip for a delightful contrast.
- Serve alongside apple cider or pumpkin spice lattes to enhance the fall flavors.
- For a festive touch, arrange them on a decorative platter with autumn leaves.
- Consider adding a sprinkle of cinnamon sugar for a sweet twist!
FAQs about Pumpkin Patch Pretzels
Can I make Pumpkin Patch Pretzels ahead of time?
Absolutely! You can prepare the dough a day in advance and let it rise in the fridge overnight. Just bring it back to room temperature before shaping and baking. This is a great time-saver for busy days!
What can I serve with Pumpkin Patch Pretzels?
These pretzels pair wonderfully with a warm cream cheese dip or a sweet glaze. You can also enjoy them with apple cider or a pumpkin spice latte for a cozy fall treat!
How do I store leftover pretzels?
Store any leftover Pumpkin Patch Pretzels in an airtight container at room temperature for up to 2 days. If you want to keep them longer, consider freezing them. Just reheat in the oven when you’re ready to enjoy!
Can I use fresh pumpkin instead of pumpkin puree?
Yes, you can! Just make sure to cook and puree the pumpkin until smooth. However, canned pumpkin puree is often more convenient and gives consistent results.
What if my dough doesn’t rise?
If your dough doesn’t rise, it could be due to inactive yeast. Make sure your water is warm, not hot, and check the expiration date on your yeast. A little patience goes a long way, so give it time in a warm spot!
Final Thoughts
Making Pumpkin Patch Pretzels is more than just a recipe; it’s a delightful experience that brings warmth and joy to your kitchen. The aroma of pumpkin spice wafting through the air instantly transports me to cozy fall days. Watching my family’s faces light up as they enjoy these adorable treats is priceless. Whether you’re sharing them at a gathering or savoring them during a quiet moment, these pretzels are sure to create lasting memories. So roll up your sleeves, embrace the season, and let the magic of baking fill your home with love and laughter!